Canon EOS R6 for Triathlon Photography

Canon EOS R6 for triathlon photography

I’ve had my Canon EOS R6 for a bit over a month now. It had been put through its paces shooting a bit of surfing and doing a bunch of event coverage (both photo and video) for the Northern Beaches Council “Taste of the Beaches” events. It had performed flawlessly, and I’m already considering buying a second R6 body. However, I hadn’t yet had a chance to let it rip in the sport where I really got my first start in sports photography: Triathlon.

The Warringah Triathlon Club contingent. EOS R6, Canon 16-34mm f/4 @ 16mm f/5.6.

The Warringah Triathlon Club contingent. EOS R6, Canon 16-34mm f/4 @ 16mm f/5.6.

My favourite triathlon weekend each year is the Triathlon NSW Club Championships in Forster. It’s the one time of the year when everyone competes to earn points for their club against all the other clubs from around NSW. It is a huge event, with 1000+ competitors and some 200+ volunteers. My local triathlon club, Warringah Triathlon Club, turned up to the event with a monster team of 149 competitors and 30 volunteers, and I was there to capture all the action.

I shot photos at a few different spots throughout the day to give me a few different perspectives. I stared down on the beach to capture the start of the women’s race, and then made my way out onto the bike course. After that it was out onto the very scenic run course and then to the most exciting spot, the finish chute!

Thoughts on the Canon EOS R6 for triathlon photography?

In short, the R6 is exceptional. The image quality is great, but that really isn’t surprising as it has been great in all of Canon’s prosumer/professional DSLRs and mirrorless cameras for many years.

The place where the R6 really stands out is the exceptional auto-focus performance. I shot using a mix of single-point AF, and eye-AF (there is more information in this article describing how I’ve set up my R6 to be able to utilise both AF modes with just the push of a button). I had been skeptical about how the eye AF would perform in a triathlon setting where athletes are wearing helmets on the bike (often with sunglasses or an acrylic visor) and then wearing caps/visors on the run, but I was pleasantly surprised. If they weren’t wearing dark sunglasses, it picked up their eye with ease. If they were wearing sunglasses, it just reverted to the tracking the head instead, which in most cases is more than adequate for a triathlon setting. The only time I used single-point AF was when I was tracking panning shots on the bike, where it just couldn’t pick up the eye and would sometimes revert to tracking part of the wheel or the pedal stroke, which could throw off the overall sharpness of the image a bit. I shot approximately 1700 photos throughout the day, and the “keeper” rate was far higher than with previous bodies thanks to the AF improvements. My 5Dmk3 has been a great camera, but there is no denying that it can sometimes struggle with AF with a fast moving subject like a triathlete on a time-trial bike.

Club legend Geoff Thorsen still ripping along at 76 years of age! This is one of the few scenarios where I switched from eye-AF to single point AF. EOS R6, Canon 70-200mm f/2.8 @ 85mm f/4

Club legend Geoff Thorsen still ripping along at 76 years of age! This is one of the few scenarios where I switched from eye-AF to single point AF. EOS R6, Canon 70-200mm f/2.8 @ 85mm f/4

I was also pleasantly surprised with the battery life. Some commentators had cited some pretty horrible battery life measures in the vicinity of 400 shots, but that was a long way from the reality of what I’ve experienced. At Club Champs I shot 1700 photos with two batteries in the battery grip, and it was still showing over 40% battery life remaining. That mean’s I’d be getting well over 3000 shots on two sets of batteries, which is perfectly fine by me!

The finish chute is always has the best energy! It doesn’t matter whether you’re the first competitor to cross, or the last, you can guarantee that there will be a bunch of club mates there to cheer you along! EOS R6, Canon 16-35mm f/4 @ 22mm f/5.6.

The finish chute is always has the best energy! It doesn’t matter whether you’re the first competitor to cross, or the last, you can guarantee that there will be a bunch of club mates there to cheer you along! EOS R6, Canon 16-35mm f/4 @ 22mm f/5.6.

What would I change on the R6 for triathlon photography?

The R6 is a great camera for triathlon photography, but it isn’t perfect. One thing I would definitely recommend all shooters invest in is a battery grip. Triathlon is a very vertical sport to shoot, so a grip with a second set of buttons is pretty much essential if you don’t want to be contorting your arm for every vertical shot. Even shooting horizontally, I find that a grip provides a more stable platform to rest my hands on. The R6 is a beautifully compact body, but that doesn’t necessarily equate to a good thing for individuals with larger hands…I tend to find my pinkie finger hanging off in space without a battery grip, which ends up being surprisingly tiring after shooting for 6+ hours. The ability to double your time between battery swaps is an added bonus. The Canon BG-R10 battery grip for the R6/R5 is disgustingly expensive (approx $AUD540) for what it does, but unfortunately at the moment there aren’t any third-party options available.

The other thing I will change in the future is moving to some RF lenses. My EF lenses work flawlessly with the EF-RF adaptor, and both the 70-200 f/2.8 IS II and my 16-35 f/4.0 IS are able to utilise the full high-speed shooting afforded by the R6 (some other lenses, including some third party lenses, can only work at 7 or 8 fps). However, there is no doubt that adding an adaptor to the setup changes the weight balance. The 70-200 f/2.8 with an adaptor feels exceptionally heavy when compared to the R6 body, and the 16-35 ends up being surprisingly long once you’ve got an adaptor on it (this is actually a problem for me for video shooting, because the centre of gravity is too far forward to balance the R6 on my gimbal when it has the adapted 16-35 on it!). Once I upgrade my spare body to an RF mount body I’ll probably end up selling all my EF glass (aside from my Sigma 150-600 which I’m happy to keep as an adapted lens) and upgrade to RF glass.

Club Champs 2021-268.jpg

Final thoughts….is it worthwhile upgrading to the R6?

Yes, absolutely, if your finances allow it. The AF performance of the mirrorless bodies is so far ahead of anything I’ve experienced with my previous DSLRs, that I just can’t imagine going back now. In fact, it feels a bit odd to pick up my 5Dmk3 and shoot with it now which is why I will be upgrading it to a second R6 body in the very near future.

My personal feeling is that the R6 is a great middle-ground for sports photographers that can’t justify spending an absolute bucketload of cash on a 1DXmkIII (or the upcoming R3) and don’t really have the need for the higher megapixel count of the R5. The video capabilities of the R6, particularly with the in-body image stabilisation, also make is a great stepping-stone for photographers that are looking to add video capabilities to their repertoire (I’ll write about my experiences with shooting video on the R6 in a separate blog). Serious agency sports photographers will probably opt to stay with the bombproof 1DXmkIII until an equivalent mirrorless body is available, but for the vast majority of sports photographers I think the R6 is a great option, loaded with great features at a reasonable price point.

Club Champs 2021-124.jpg


Canon EOS R6 for Sports Photography - First impressions

Just over a week ago, I was lucky enough to pick up a brand new Canon EOS R6. Surprisingly enough, although I have been shooting for many years, this is actually the first time that I have ever purchased a brand new camera body. Prior to this moment I’ve owned the following selection of second-hand bodies: Canon 20D, Canon 7D, Canon 5Dmk3 (my primary body prior to purchasing the R6).

I had been eyeing off the R6 for quite some time. It appealed for a number of reasons:

1) Canon is clearly committed to a move to mirrorless, and the RF glass that goes with mirrorless bodies is getting better and better with each lens that they release. I hadn’t made the jump with the EOS-R or the EOS-RP because they just weren’t up-to-scratch for sports photography, but the R6 is a different beast altogether.

2) The idea of a more compact, slightly lighter body definitely has appeal, especially on longer shooting days where I need to be mobile along a spread out event course.

3) The specs on the R6 are just ideal for shooting sports. 14 fps mechanical shutter, 20 fps electronic shutter, 20 megapixel sensor shared with the 1DX mark III, and the autofocus performance that comes with a mirrorless system. I had considered leaping to the R5, but the extra megapixels and 8k video just aren’t something that I need for shooting sports.

4) My 5Dmk3 body has been a workhorse, but it was getting a bit long in the tooth. It has 200k+ shutter actuations on it, and everything was just getting a bit tired. The top control wheel would sometimes jump settings, the main shutter release had got quite spongy, and it had also developed an annoying spot on the sensor. I had been using my 7D as a spare body, but its low-light performance is, to be honest, horrendous, which made it unusable for early morning events.

After hesitating for some weeks, I pulled the trigger and picked up an R6 body and the RF-EF adaptor (basic version, not the control ring version because there aren’t any in the country at the time of writing!) so that I could still use my existing collection of EF glass before I transition to RF glass.

Setting the R6 up for sports photography

Straight out of the box, the R6 would probably do a killer job for many sports photography situations, but there are definitely some things you’ll want to optimise to take the camera to another level.

  • Back-button focus. By default the R6 ships with the shutter button controlling “autofocus start”, “metering start” and shutter release. I’ve shot with back-button focus for many years, so the first thing I did was change the shutter button to just “metering start” and “shutter release”, and changed the AF-on button to “AF-start” and “metering start”. For those of you that don’t know what back-button focus is, there are some great YouTube explanations. In short, with one button it means you can effectively switch between AF one-shot and AF servo modes without ever touching a menu item again.

  • AF modes. The Eye-AF on the R6 is phenomenal (more about that below), but it isn’t appropriate for many sports, particularly when the athletes are wearing helmets. In those situations, I want to be able to rely on single-point AF (or maybe a cross-type AF cluster). You don’t need to go into the quick menu to change between focus modes, it can all be done by assigning “Eye AF” to the “*” button on the back of the camera. That means when you press “*” Eye AF will be activated and will try to track the subject, but if you want to use single-point AF you just use the usual back button focus “AF-on”. I didn’t realise this was possible at first, but when I realised it could be done it completely changed the R6 shooting experience.

  • Other than that, it is just the usual settings (full burst shutter release, AF servo etc.). I use AF scenario 1 for most situations, and will occasionally use scenario 4 when I’ve got very fast moving subjects.

First impressions of the R6 as a sports photography camera

Two days after I receive the R6, the World Surf League rolled into town for the Ripcurl Narrabeen classic. Having a whole selection of world-class surfers on my doorstep was too much of a good opportunity to pass up.

I took my R6, and trusty Sigma 150-600mm f/5-6.3 down to the beach and found a spot in amongst the 3000 other spectators. It was a pretty overcast and gloomy day, and the break was a fair way out (and of course and hadn’t brought my 1.4x teleconverter) but I got the R6 set up and started firing away……

What I’m going to say here probably won’t surprise anyone. The R6 is exceptional. The autofocus is like nothing else I’ve ever experienced. I tested the eye-human AF and even for surfing where the subject is at the extreme end of a telephoto lens it did a phenomenal job of picking up the subject and tracking it across the wave. In maybe 1 out of 10 shots in a burst you can see that it accidentally picked up the face of the wave rather than the surfer, but in general it was tack sharp. I’d say that is still far better than using a single AF point in a burst, where there is every chance that I could accidentally place the AF point into the wave at some point.

One thing I’ll be interested to test is how the AF performs when you chuck on a teleconverter. The 1.4x TC means my 150-600 has a max aperture of f/8.0, which on my 5Dmk3 reduced it to a single AF point. My understanding is that the R6 should maintain about 80% of the AF points down to f/11, which would be a massive improvement.
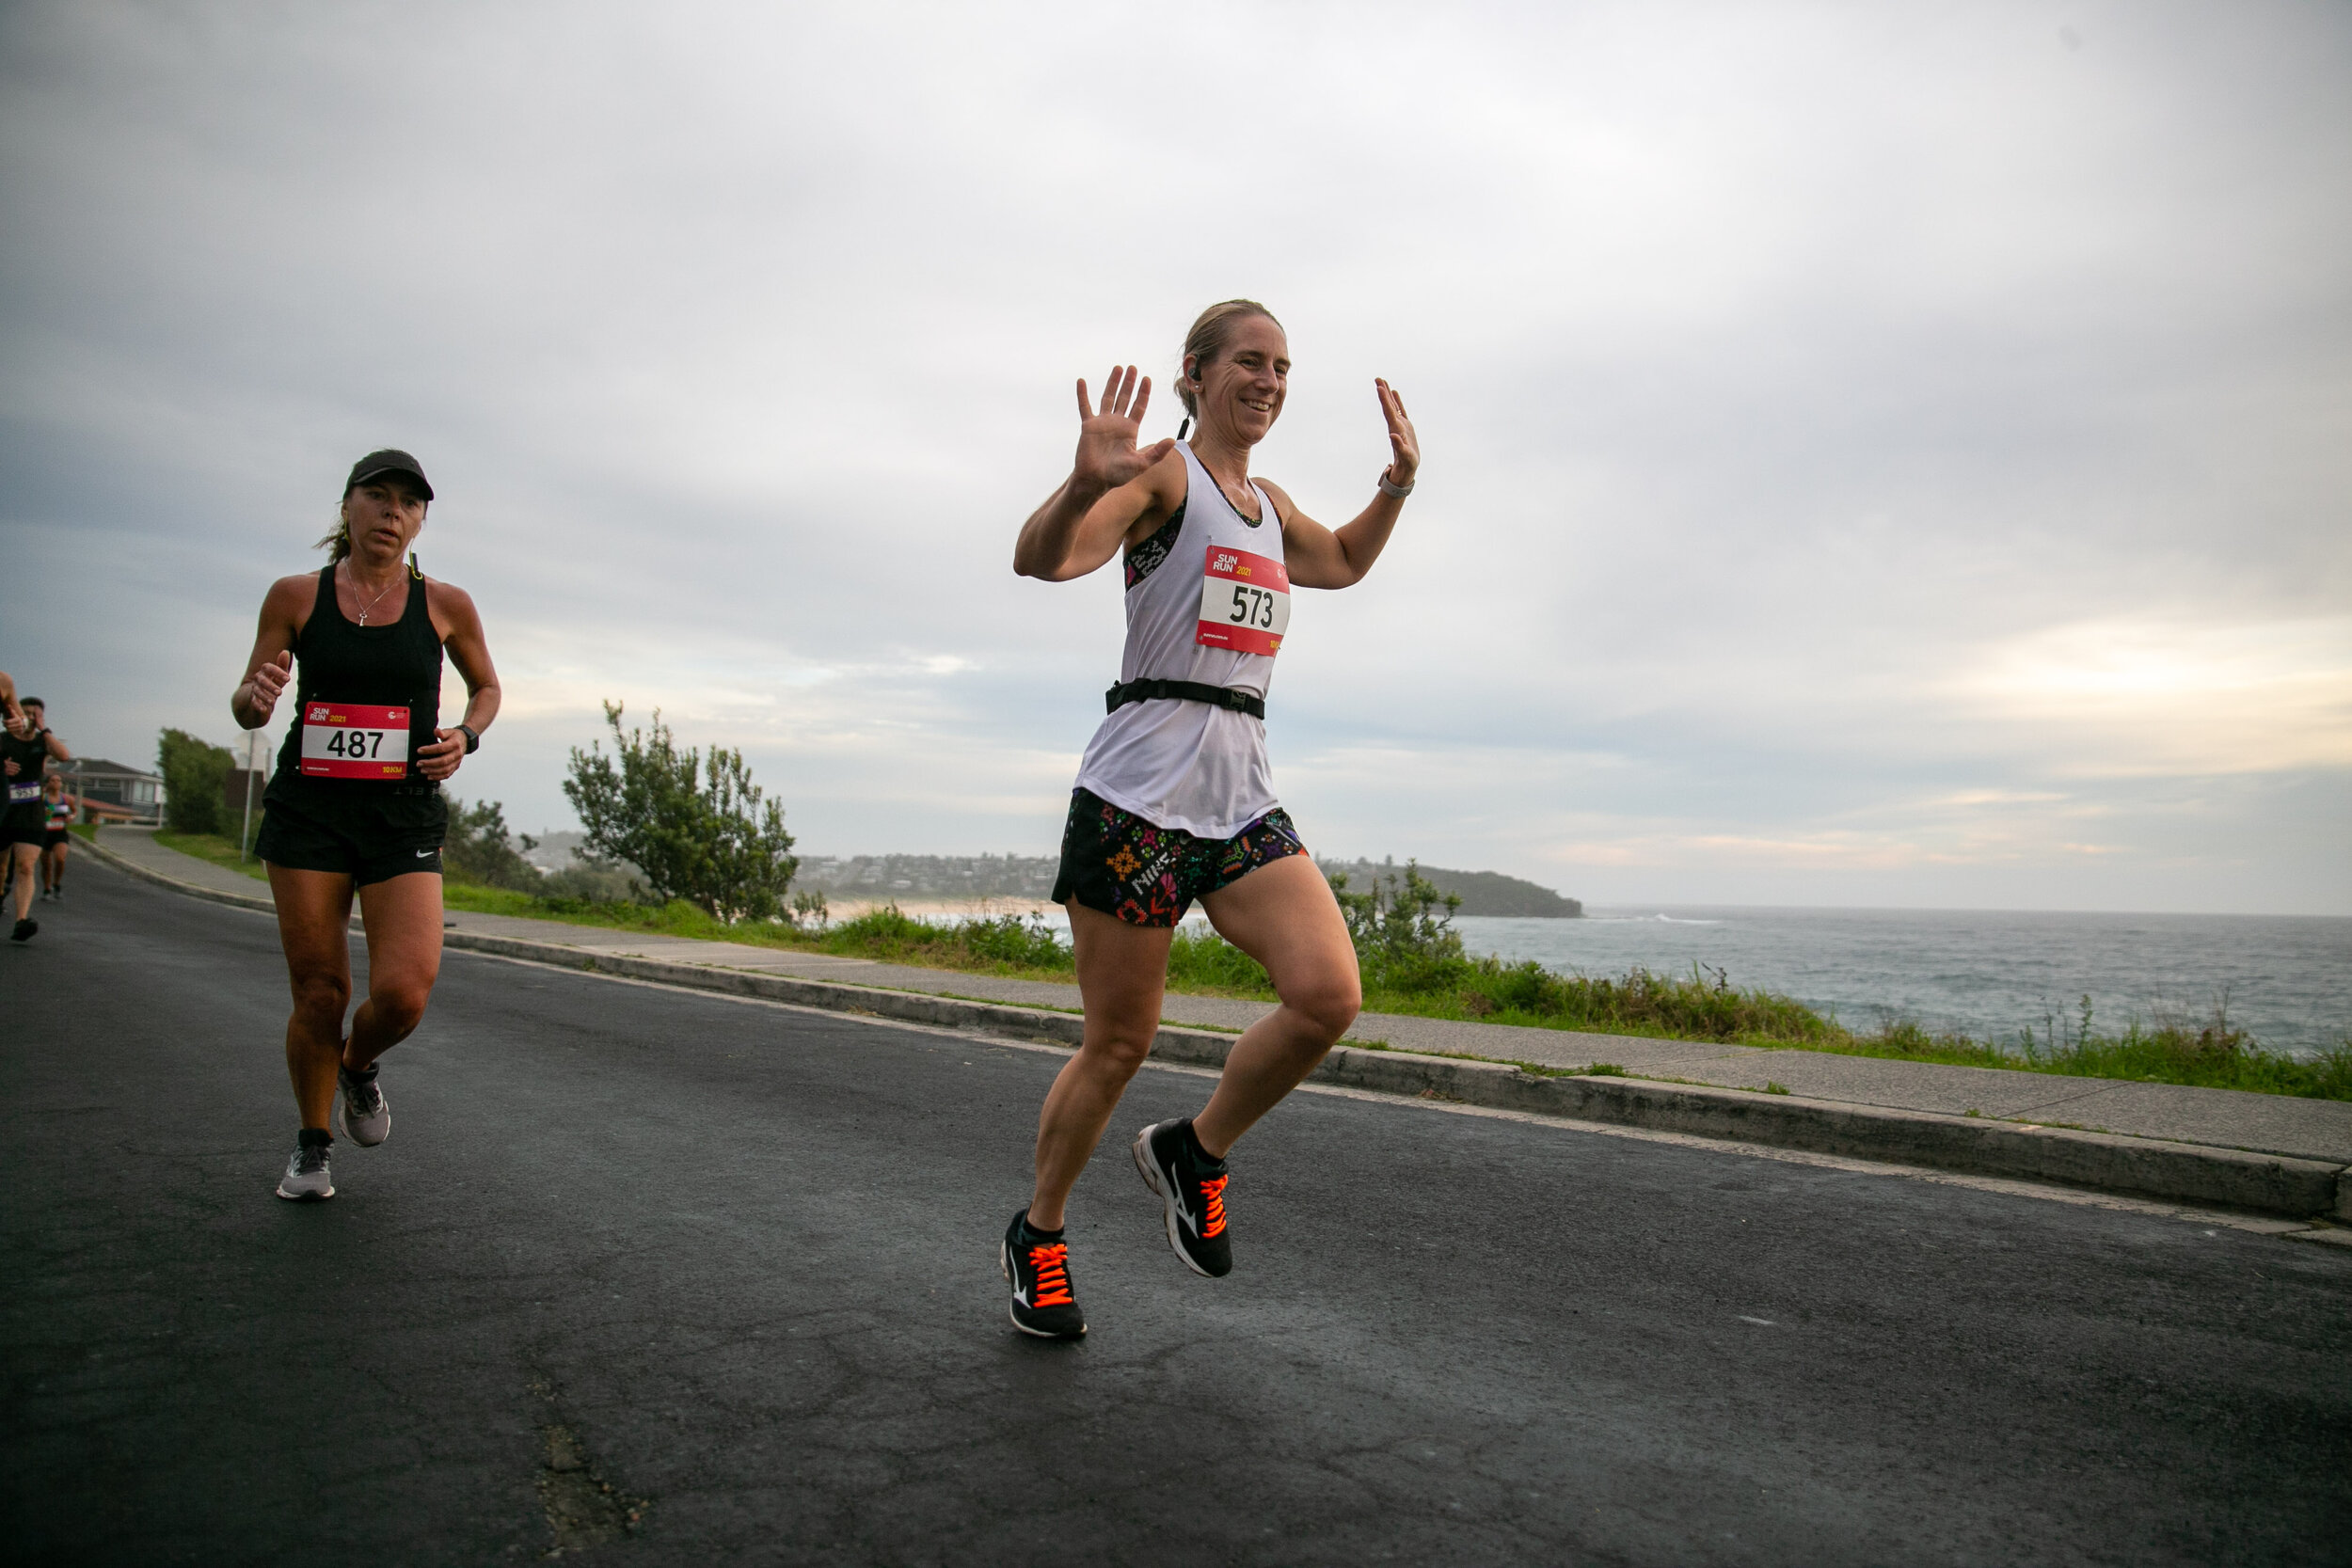
Main take-aways

I’ve only been able to put the R6 through it's paces for a few hours, but this is what I’ve garnered so far

1) The AF is just exceptional. There are so many “keepers” in amongst shots where I know my 5Dmk3 would have been hunting for focus. The Eye AF has limitations with some sports, but for many it will be amazing. Where you can’t use Eye AF, the single point AF tracking is amazing too.

2) The 12fps mechanical shutter is amazing, and is surprisingly quiet compared to the 5D series. I don’t really know how to describe it, but it feels like more of a dull “thud” rather than the loud click of the 5D series.

3) You need to have a bit of discipline with the shutter. It is way too easy to fire off a burst of 15-20 shots. I had a lot of photos to cull through from the surfing, but on the other hand I was glad to have that many shots to choose from. For my large events we’re usually capturing each competitor in one frame, so that shouldn’t be too much of a problem.

4) The EVF takes a little while to get used to, but after a while I really came to love the exposure simulation, particularly when I’m shooting in full manual mode.

5) If you have larger hands like me, you’ll probably want to invest in a grip. The official Canon grip is expensive (around $500!), but there aren’t any third-party options available at the moment. I love the way the R6 feels in my hands, but after a couple of hours I really found myself wishing that I had somewhere to rest the bottom of my hand/pinkie finger. With some events I’m shooting constantly for 3-4 hours, so comfort is essential. For shooting vertical sports, the grip will be absolutely essential anyway, so investing in one was a no-brainer for me.

6) You should never be able to exceed the buffer. The buffer when shooting in RAW at 12fps mechanical to two UHS-II SD cards is infinite….it will keep shooting until you fill the cards. At 20fps electronic shutter, you have to be shooting continuously for 9 seconds (180 shots) to saturate the buffer. I can’t imagine any situation where you would need to do that.

7) A 20 megapixel sensor is more than enough for most situations. The photos above have been cropped a fair bit and still look great at 100% on the screen. The 45mp sensor on the R5 would be amazing for landscapes and portraiture, but for high-volume sports photography I’ll take the 20mp sensor all day. It makes for manageable file sizes (particularly if you shoot in cRAW) and you don’t need gigantic amounts of storage for a full day of shooting.

Still to be determined

1) Battery life. By all accounts the R6 is a bit hungry on batteries due to the EVF and the back LCD. I didn’t shoot for long enough to see how the battery performed. On my 5Dmk3 with a grip and two batteries, I can shoot roughly 1200 shots before needing to change them over. I’m not expecting to see anywhere near that on the R6. If I can get 800 shots with a grip and two batteries (which are still on backorder) I’ll still be happy.

2) Low-light performance. Just from shooting some shots around the apartment I can tell the low-light performance is going to be a huge jump up from my 5Dmk3. I shot a bunch of shots at ISO 12400, and there was no noticeable noise. I can’t wait to give this thing a run in the early hours at a triathlon or trail run.

3) Electronic shutter. The 20fps on the electronic shutter sounds appealing for sport, but for many of my sports where the subject is moving horizontally or diagonally through the frame, rolling shutter will be an issue. I also struggle to get my head around the lack of any sound or tactile feedback when you’re shooting with the electronic shutter…..the only way you know the camera is firing off shots is the flickering box around the outside of the EVF. I may occasionally use the electronic shutter to get a cool sequence of shots, but I think in the vast majority of situations the 12fps mechanical shutter will be more than adequate.

Shooting Coastrek Sydney 2021

Sydney Coastrek 2021, 19th March 2021

Coastrek Logo Colour.png

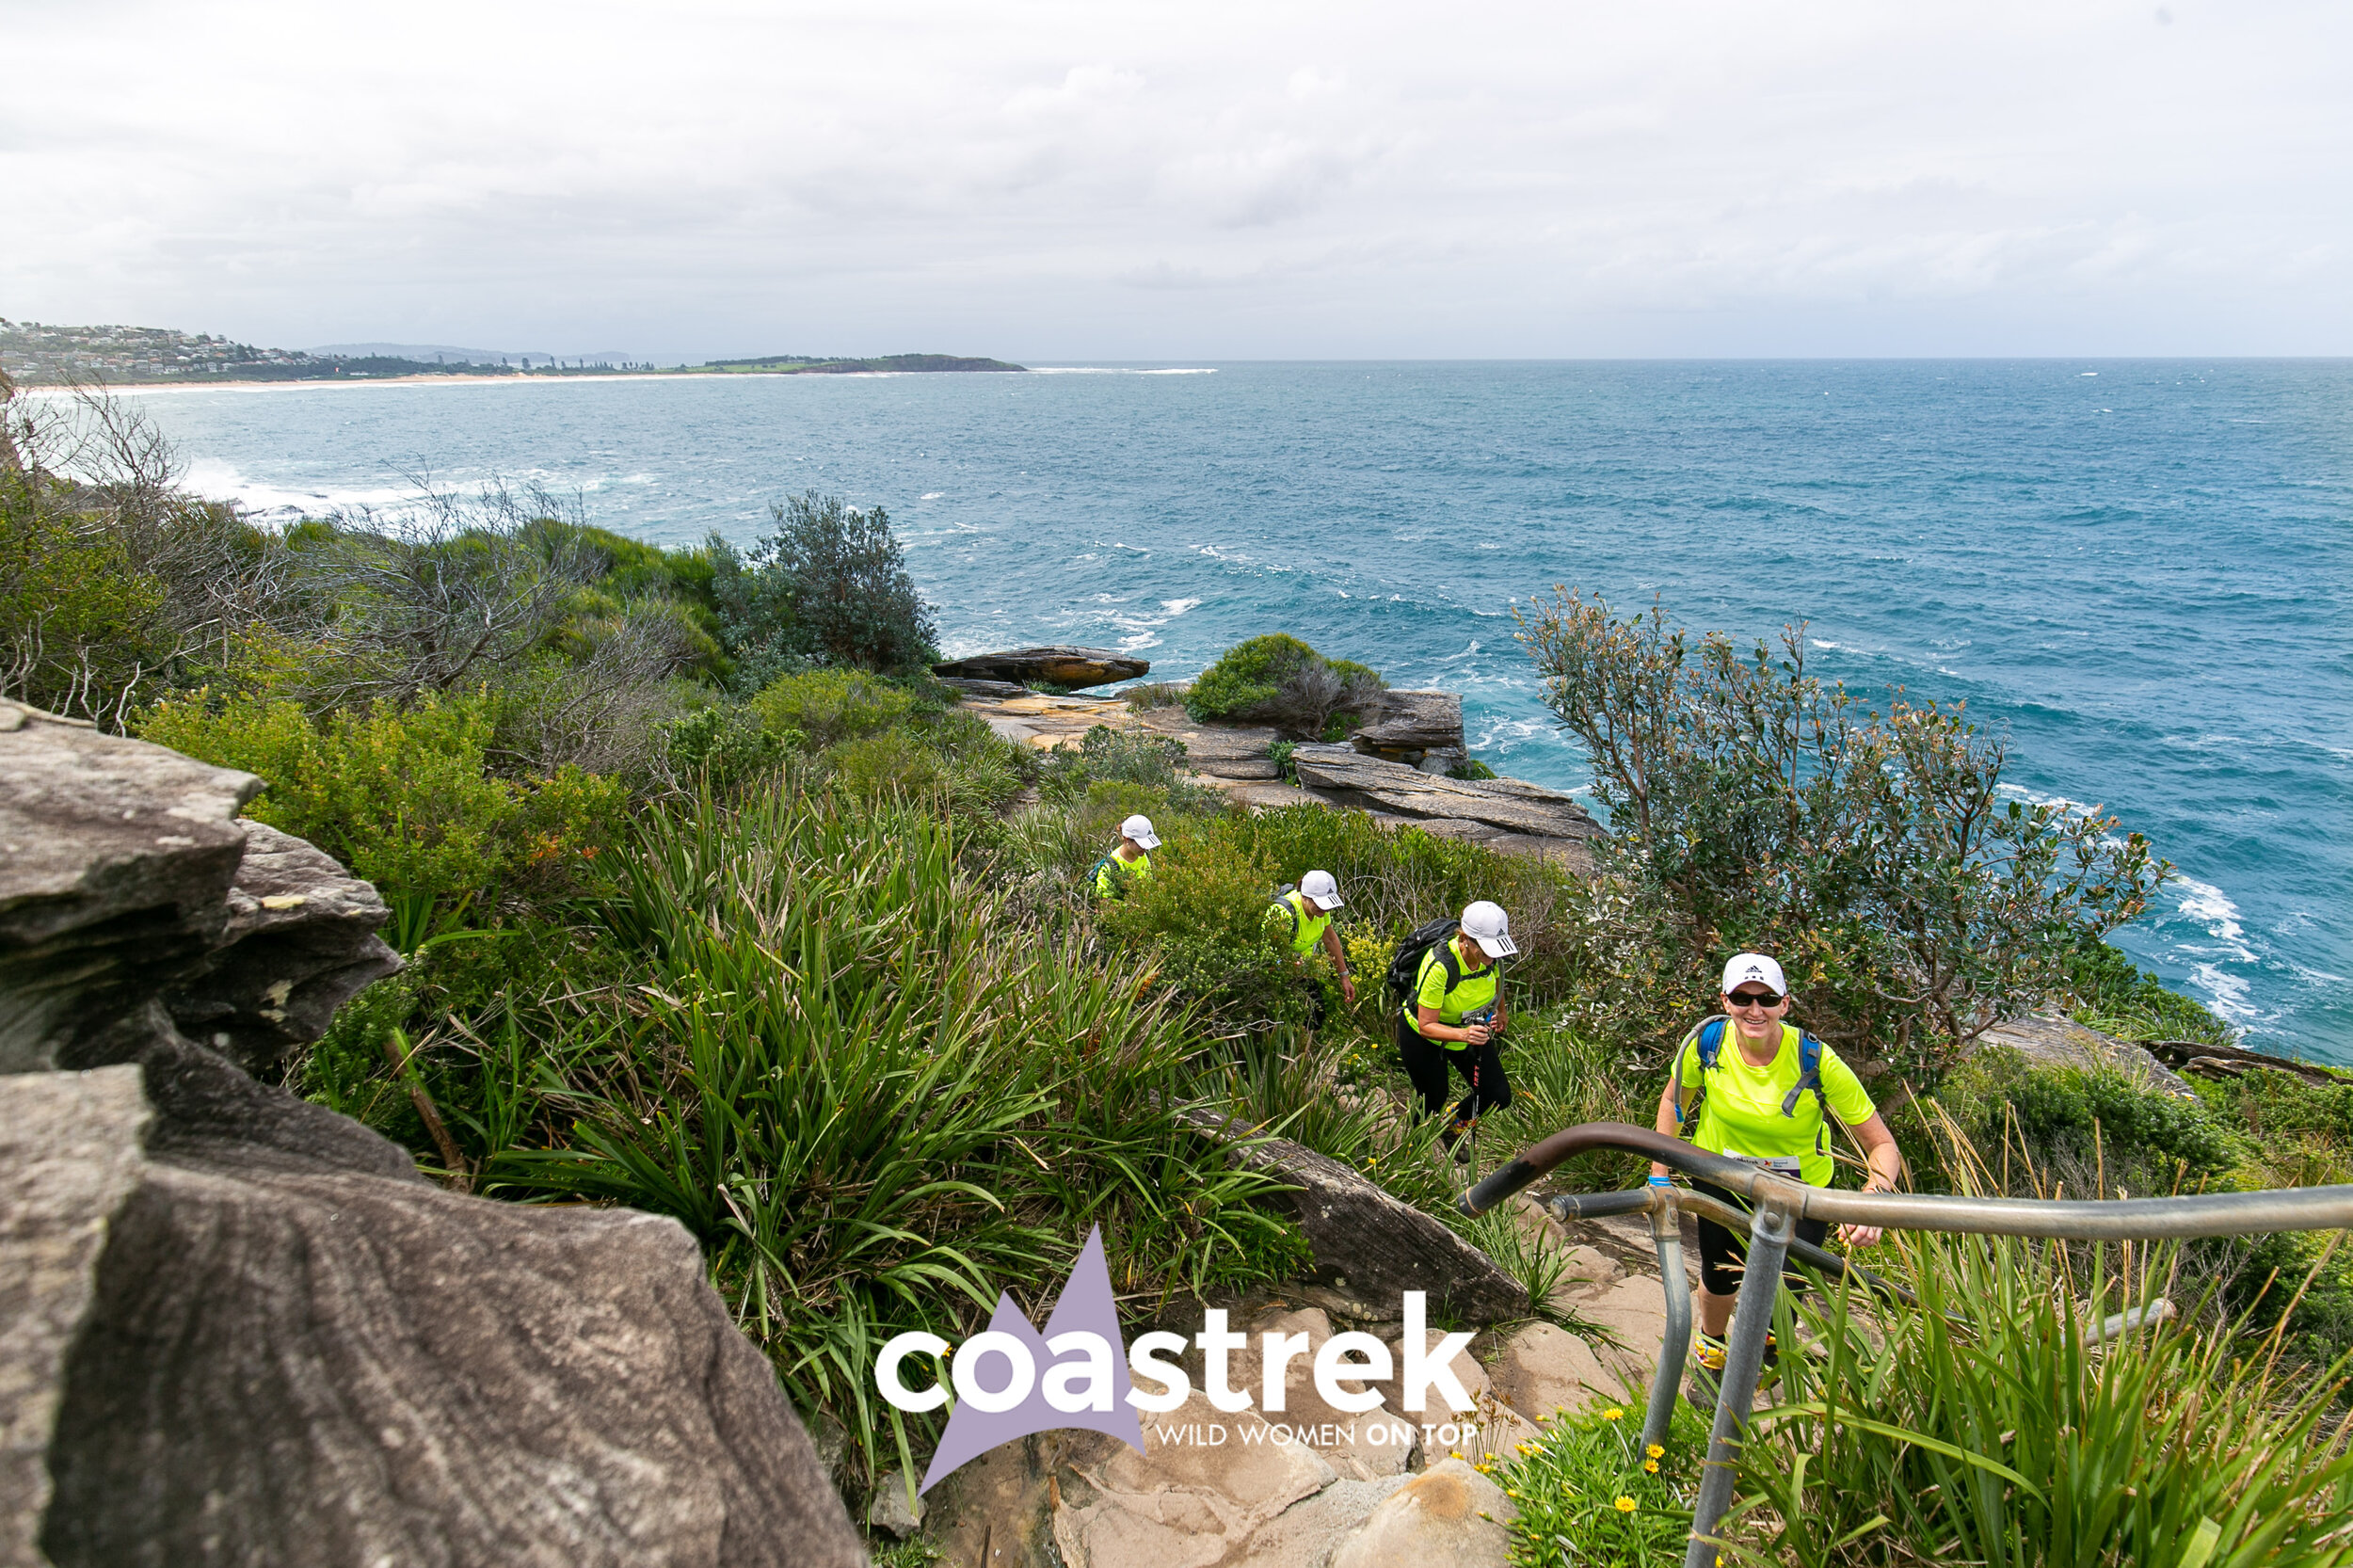
I was recently approached by the team from Wild Women on Top to provide photography and videography services for their Sydney Coastrek event. Coastrek is an amazing event, raising funds for Beyond Blue, with participants either choosing to do a 60km walk (Palm Beach to Middle Head), 30km walk (Long Reef to Middle Head) or 15km walk (North Harbour to Middle Head).

The event brief called for a mix of on-course shots that could be used for future marketing material, website material etc, plus finish line photos for each of the ~3000 participants. Covering the event was going to be a significant logistical challenge given the length of the course and the tendency for teams to spread out. Some teams were expected to run the 60km event in around 7 hours, whilst others would be out there slogging away for the full 18 hour time limit. I put together a team of three photographers and one videographer to cover the event.

Coastrek is a photographers dream, with an endless number of amazing scenic shots on offer as the course meanders its way along the very best coastline of Sydney’s Northern Beaches. As long as the weather is fine……


Pre-event……Rain, rain go away

In the weeks leading up to the event I had scoped out a bunch of different shooting locations using a combination of Google Maps and on-site reconnaissance, and combined my ideas with some ideas from the legends at Wild Women on Top to put together a shot list that I could split up between the three photographers.

The weather forecast for event day was looking pretty grim, with up to 70mm of rain predicted throughout the day! We would be there shooting no matter what the weather, so in addition to my usual rain cover for my camera gear and rain jacket, I ventured out to purchase a set of rain pants and some very sexy gumboots. If we were going to get hammered with rain, I was going to do my best to be comfortable.

Rain wouldn’t be stopping these ladies, and it certainly wouldn’t be stopping us!

Rain wouldn’t be stopping these ladies, and it certainly wouldn’t be stopping us!

The packing list for this type of event is pretty extensive, and because I would be working out the back of my car the entire day leapfrogging the competitors I didn’t really have to worry too much about the weight of my bag.

Gear list:

2x Canon 5Dmk3 bodies

Canon 70-200mm f/2.8 II IS - My go-to lens for all events.

Canon 16-35mm f/4 IS - From my pre-event reconnaissance, I knew some of the walking tracks would be too tight to use the 24-70, so something wider was required.

Tamron 24-70mm f/2.8 G2 - This is usually my go-to walk around lens for events. As it turns out, it didn’t get used at all! More on that below.

Sigma 150-600mm f/5.6 - Usually my go-to surf photography lens, not usually something that I’d take along with me to many events, but I had planned out a bunch of long telephoto shots down some of the beaches and this would be the perfect lens for it.

DJI Mavic Air - This was going to be the key to some of the spectacular scenic shots I had planned

Lighting - Godox V1, Godox AD200 Pro, Godox X-Pro trigger - We were going to be shooting before the sun came up, and would be shooting until midnight. One of the other photographers had a set of Profoto B1’s to turn the finish line into something resembling the surface of the sun, but I needed something a bit more portable.

Assorted light stands, tripod, monopod, and a days worth of food + coffee.


Event Day

It was a 4 am alarm for me, allowing me to make it to the start line of the 60km event at Palm Beach just after 5 a.m. The volunteers and event staff were already busy getting everything set up, with the first competitors due to head off at 6 a.m. I grabbed a few quick shots, but left one of the other photographers to capture all the start line action. My mission was clear…..trek up to the lighthouse on top of the headland and pray for a sunrise. It thankfully wasn’t raining, but heavy cloud cover and a sun that wasn’t due to rise until 6:57 a.m. had me less than hopeful.

_PHO8137.jpg

As I got to the top of the headland, I could see the headlamps glittering in the darkness along the beach as the first 60km competitors got started on their long journey. It was an interesting trek to the top of Barrenjoey Headland by myself in the pitch dark. If nothing else, at least I had cleared the track of all the overnight spiderwebs…..

They’re out there somewhere!

They’re out there somewhere!

I waited at the top of the headland for the first competitors to arrive. It was dark, and continued to be dark as the competitors rolled through. The sun made a couple of weak attempts to peek out from behind the clouds, but it was clear that nothing spectacular was going to happen. I grabbed a couple of shots, and then admitted defeat and started heading back down the path. When I got halfway down I turned around to take one of my pre-planned wide scenic shots and then I saw it…the bloody sun had finally cut through the clouds.

It was at this moment that I realised the bloody sun was finally starting to show itself….back up the hill I go!

It was at this moment that I realised the bloody sun was finally starting to show itself….back up the hill I go!

I chucked my camera bag into the bushes, took one body and my 16-35mm lens with me and hauled myself back up the track to the lighthouse. Competitors were still rolling through and I managed to capture a couple of shots with a rising sun, and a couple more on the way back down the track.

Worth it!

Worth it!

Scenic_Shots_Watermarked-5.jpg

From Palm Beach, I was on the move to Avalon. I had one simple shot planned here, a telephoto shot down the beach from the carpark. Whilst I waited for the competitors to start coming down the beach we got the first sprinkling of rain, but still nothing compared to what was predicted. By this time the 30km competitors were at Long Reef, being covered by one of my other photographers.

Scenic_Shots_Watermarked-9.jpg
Planning is the key with these types of events. There isn’t time to be doing to much “winging it”.

Planning is the key with these types of events. There isn’t time to be doing to much “winging it”.

The 30km trekkers starting their walk at Long Reef got a dusting of rain. Photo: Joe Kennedy

The 30km trekkers starting their walk at Long Reef got a dusting of rain. Photo: Joe Kennedy

The participants were prepared for all conditions! Photo: Joe Kennedy

The participants were prepared for all conditions! Photo: Joe Kennedy

I won’t bore you with stories from the rest of the day, it is really a tale of leapfrogging, trying to time my movements so that I wasn’t always capturing the lead competitors. From mid-afternoon, my other two photographers were manning the finish line, ensuring that every team got a finish line photo. The movements throughout the day were a surprising challenge, because throughout the whole day I knew I needed to make sure I was at North Harbour by 5 p.m. to capture the 15km competitors. After that, I made a couple more stops before meeting up with the other photographers at the finish line.

Hero_Shots_Watermarked-24.jpg
Scenic_Shots_Watermarked-29.jpg

Participants continued to stream in well into the evening, turning into a trickle after 10 p.m. We had always said we would be there until the last team crossed the finish line, and that moment came shortly before midnight. The vibe throughout the whole event had been amazing, a true testament to the culture of Coastrek and Wild Women on Top. Everyone was so supportive and so friendly, with some very emotional finish line moments as participants realised the enormity of what they had achieved.

The finish line vibes were unlike anything I’ve experienced at other events! Photo: Luke Walker

The finish line vibes were unlike anything I’ve experienced at other events! Photo: Luke Walker

Shooting at night presented an opportunity to try some second-curtain sync shots….without trying to scare participants with the flash!

Shooting at night presented an opportunity to try some second-curtain sync shots….without trying to scare participants with the flash!

As the last team crossed the finish line and the event team all enjoyed a sneaky prosecco, the heavens finally decided to open up. Somehow we had got through the entire day with only a sprinkling of rain. It had been overcast and very windy throughout the day, which really limited some of the scenic shots I had planned. In particular, it was too windy to put the drone up in many of the locations that I had in mind, but I’m proud of the photos that we all managed to capture and I feel that they truly reflect the camaraderie, energy and amazing atmosphere of the event.

Hero_Shots_Watermarked-99.jpg

Post-event

I had delivered a handful of shots to the event team throughout the day for social media purposes, but the main deliverables were due a few days after the event. I had personally shot just over 1000 photos for the day, and in total the team had shot just over 5000 with the bulk of those being at the finish line. The event team had provided a great list of key deliverables, which made culling photos easy albeit still time consuming! In total we delivered just under 800 bulk competitor finish line photos and 300 key deliverable photos covering scenic shots, sponsors/partners, key branding, volunteers, and “hero” competitor shots.

All-in-all, it was an extremely long day but it was an extremely rewarding day. Like all large assignments, there are a few things I would do differently if I am given the opportunity to cover the event again, but on the whole it was a huge success. It was an amazing event to be a part of, and if there are any keen walkers out there I could not recommend Coastrek more highly!

https://www.coastrek.com.au/events-sydney

How I organise and back-up my photos - Part 1 Initial storage

Horrendous. Messy. God-awful. At some stage after taking up photography as either a hobby or as a profession, most people will realise the need to file and organise their photos in a simple yet efficient manner.

For me this came about three months after getting serious about photography. Staring at the explorer view of my hard drive, all I could see was a mess of inconsistently-labelled folders that were almost impossible to sort through. This also manifested as a problem in Lightroom, because it made it difficult to find photos from a particular shoot. So it was time for a change. I scoured the internet for ideas, and also incorporated some of my own ideas from my professional life.


Let’s start with the basics.

I like to keep my RAW files separate from the final processed photos. So the first layer of my file system is separation of RAW and FINAL photos. All of my folders are first labelled with a number. This is an essential part of the system, because it ensures the folders always stay in the same order. So, “01-RAW” and “02-FINAL” are my first two folder.

Inside those is the year. Inside that, the month, again starting with a number “01-Jan”, “02-Feb” etc.

Inside each month I have a specific folder for each shoot/day that follows a specific naming format “YYYYMMDD_ClientName/Location”. E.g. “20190431_Manly_Sunrise”. The date format is a little bit weird, but doing it that way ensures that the folders are always ordered from the start of the month to the end of the month, regardless of the name/location given to them. This format also works really well with Lightroom, as it keeps my Library view sorted based on date the entire time. Within each folder there is one more layer before dumping photos. I really don’t like mixing DSLR and drone photos, so they are separated into folders for each device e.g. “Mavic_Air” or “5Dmk3”.

This folder structure is replicated for my “02-FINAL” folder, and in fact is replicated on my other hard drive for my video work.

The final layer of the folder structure is an Excel spreadsheet, in which I keep a record of all the details of the shoots that I’ve completed: date, location, client name, contact details etc. It’s simple, it is easily searchable, and at-a-glance it allows me to locate the original or final photos for a particular client without having to browse through a bunch of folders.

Do you have any tips for organising photos? This is what works for me, but I would love to hear your ideas.

Stay tuned for Part 2, where I will talk about my backup regime to ensure I never lose any of the thousands of photos I take each year.

Base level of the organisation tree

Base level of the organisation tree

Naming the folders with a number ensures they always stay in the correct order

Naming the folders with a number ensures they always stay in the correct order

Use the naming convention YYYYMMDD_Name to keep everything in chronological order.

Use the naming convention YYYYMMDD_Name to keep everything in chronological order.